To start gnotepad, simply execute the command "gnp". This will bring up a gnotepad window where you can start editing text immediately.
There are a number of command line options available. They are as follows:--helpDisplays a help screen.--versionDisplays the version number and exits.--infoShows the compiler options used when compiling gnotepad.--forkAutomatically runs gnotepad in the background.--nosplashDisables the startup splash screen.
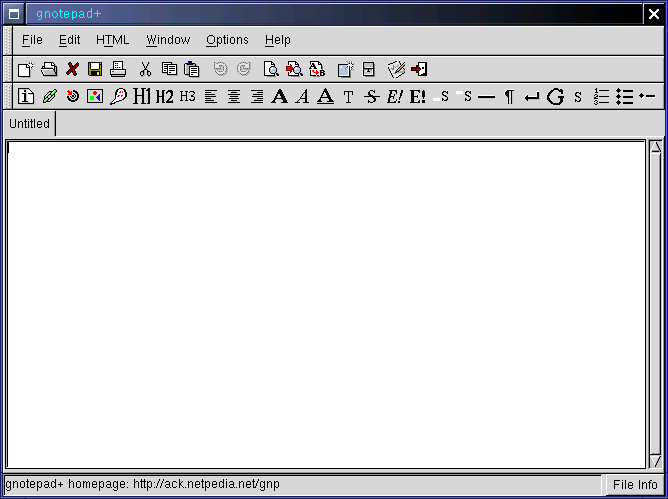
The gnotepad window has four areas for user interaction: the menu, the toolbar(s), the text area, and the message bar.
At the top-most of the gnotepad window, there is the main menu bar. By default, there are five sub-menus: File, Edit, Window, Options, and Help. You can activate each one either by using your mouse and clicking on it, or use a keyboard accelerator. To use the keyboard accelerator, hold down the <ALT> key, and then press the key that is underlined for that sub-menu. For example, to activate the Options menu using the keyboard, you would hit <ALT>-O. In general, anytime you see a character that is underlined in a menu (or submenu), that character represents a keyboard accelerator.
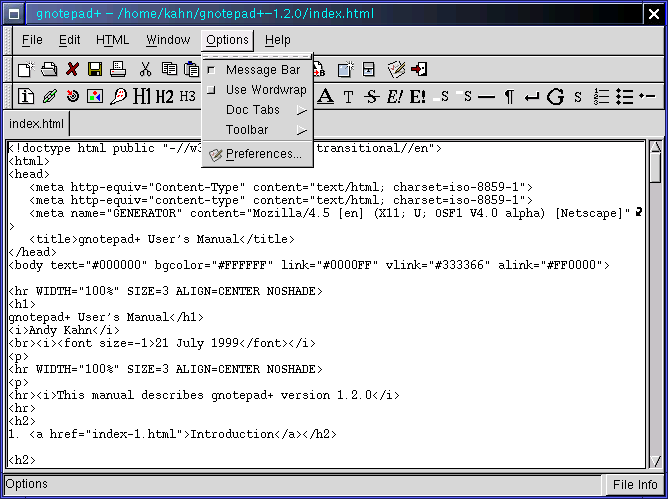
If you are using GTK+-1.2 and up, menus can be "torn" off as well. In the image above, notice that the very first entry in the Options submenu is a dotted line. By selecting this entry, the Options submenu can be torn off and placed away from the main window. Tearoff menus are not available with (older) GTK 1.0.x versions.
The File submenu is where a most of the file related operations take place. Here, you will find the following:
- New: start editing a new, untitled file. The current file is still kept in memory. To change back to the previous (or any file that is opened), you can click on the filename in the document tabs, or open the document list and select the appropriate file.
- Open: open a file for editing. A file selection dialog box will popup and allow you to pick the file you wish to edit. Note that you can also hit <F3> on the keyboard instead of going through the File menu. This is called a keyboard shortcut.
- Open Recent: re-open a recently opened file. For your convenience, a fixed number of recently opened files can be opened from this submenu. The actual number defaults to 4, though this can be changed in the Preferences screen.
- Save: save the current file. If the current file has been changed, the file will be written to disk, thus saving any changes you have made. Note that <Ctrl-S> (the Ctrl key along with the S key) exists as a keyboard shortcut for this command.
- Save As: save the current file under a new name. This will bring up a file selection dialog box. Here, you can choose a new directory, or even an existing file to save the current file as. Typically, one would enter a new name for the current file.
- Close: close the current file. If the current file has been changed but not yet saved, a dialog box will come up asking whether or not you wish to save the file before closing. You may choose to save it and then close, close without saving, or cancel closing this file.
<Ctrl-W> is the keyboard shortcut for closing the current file.- Close All: closes all files. Any file which has been changed but not saved will result in a dialox box asking whether to save, not save, or cancel the (close all) action.
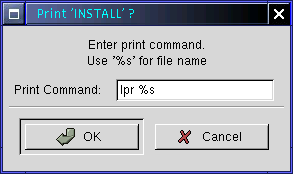
- Print: print the current file. This will bring up a dialog box for you to print the current file.
<Ctrl-P> is the keyboard shortcut for printing the current file.
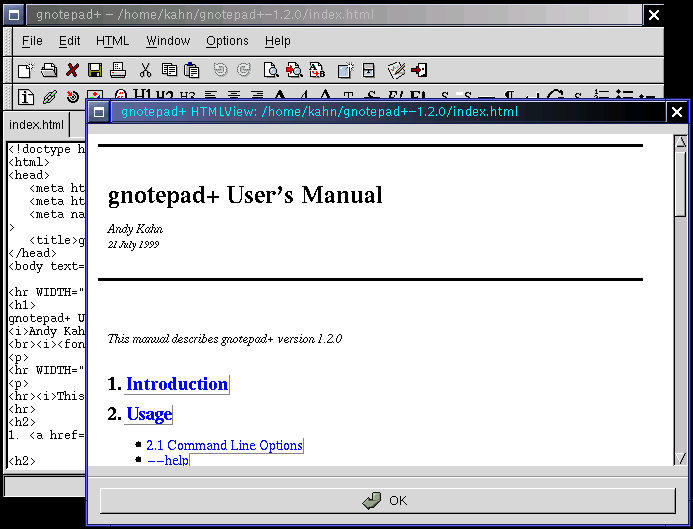
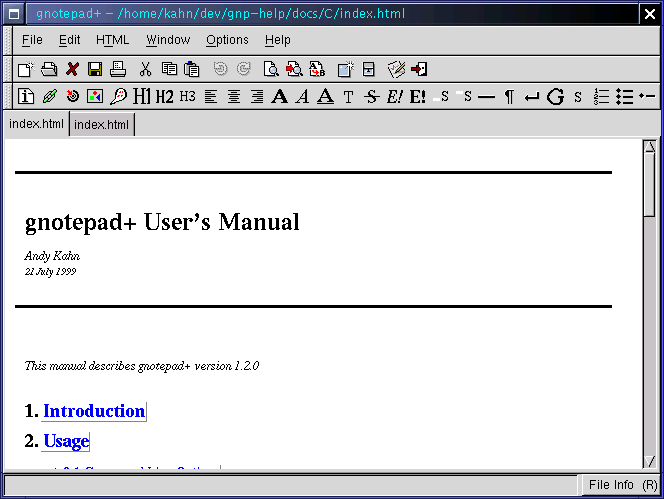
- View HTML: views the current file as HTML. If your system supports it, HTML files can be viewed in a browser (e.g., Netscape), in a separate browser-like window (note the original HTML text in the background window):
...or even as a document within gnotepad itself:
Note however, that HTML documents cannot be edited when viewed in a separate HTML window or as a document. That is, gnotepad is not a WYSIWYG HTML editor.
- Source Code Control: performs a variety of source code control commands. This includes:
Refer to the documentation for the source code control program you are using for details on these commands. The commands can be customized in the Preferences screen.
- Check In (locked)
- Check In (unlocked)
- Check In (initial)
- Check Out (unlocked)
- Check Out (locked)
- Undo Check Out
- Revision History
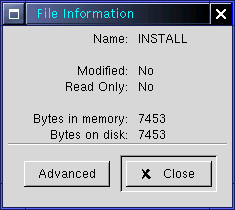
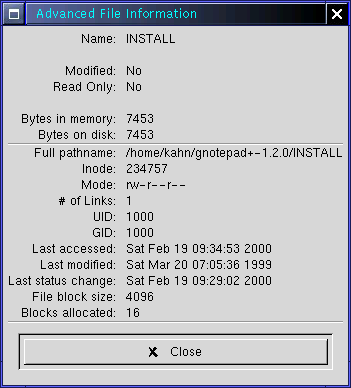
- File Info: shows basic and detailed/advanced information about the file you are editing. The basic screen, which is the default, looks like this:
If the "Advanced" button is clicked on, the advanced file information screen replaces the basic screen:
Note that <Ctrl-I> is the keyboard shortcut for File Information.
- Exit: exits gnotepad. If there are any files open which have been changed but not saved, dialog boxes will appear asking whether or not to save them. <Ctrl-Q> is the keyboard shortcut for exitting/quitting gnotepad.
2.2.2.2 Edit Menu
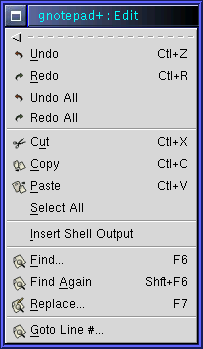
The Edit submenu contains commands which directly affect the contents of the file currently opened.
- Undo: undoes the last change made to the file. For example, if you delete a line, executing Undo will undelete the line, thus undoing the previous action. The number of undo's allowed is limited only by the amount of free memory available. <Ctrl-Z> is the keyboard shortcut for Undo.
- Redo: redoes the last undo. After undoing changes, Redo can undo the undo's. <Ctrl-R> is the keyboard shortcut for Redo.
- Undo All: Undoes all changes.
- Redo All: Redoes all undo's.
- Cut: cuts the currently highlighted/selected text into the clipboard. <Ctrl-X> is the keyboard shortcut for Cut.
- Copy: copies the currently highlighted/selected text into the clipboard. <Ctrl-C> is the keyboard shortcut for Copy.
- Paste: pastes the contents of the clipboard into the currently opened file. The text is pasted at the current cursor location. <Ctrl-V> is the keyboard shortcut for Paste.
- Select All: highlights/selects all text of the currently opened file.
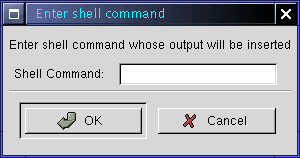
- Insert Shell Output: a dialog box pops up and prompts for the command to execute on the command line.
The output of this command is then inserted at the current cursor location.
- Insert HTML Tag: inserts a variety of user-specified HTML tags directly as contents into the currently opened file. Some HTML tags will cause a dialog to appear, prompting for (optional) input. Typical tags which would require further input include: Comment, HyperLink, Image, and Target.
Note that if text is current highlighted/selected, HTML tags which do not require further input will automatically place the tags around the selected text. For HTML tags which do require further input, the currently selected text will be placed into the entry boxes of the subsequent dialogs as default input.
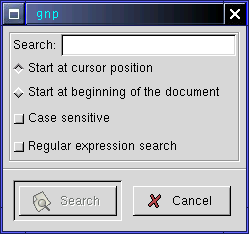
- Find: search for text or patterns of text within the current file.
By default, case sensitivity is not active. That is, the search will ignore differences between upper and lower case letters, thus treating them the same.
If you want to search using regular expressions, enter the regular expression in the "Search:" entry field, and click on the button next to "Regular expression search". This will cause the search to use regcomp(3) and regexec(3) to perform matches.
- Find Again: repeat the last Find command starting at the current location, using the same text as before.
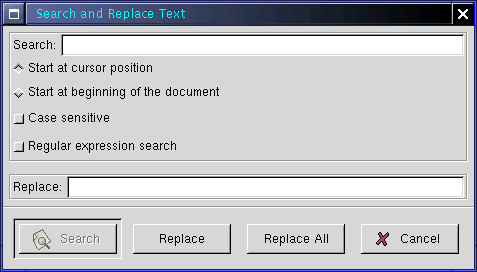
- Replace: search and if found, replace text, within the current file.
This is effectively the same dialog as the Search dialog, but now has an additional entry field to for entering the replacement text. There are also a couple of extra buttons for replacing on a per-match basis, or to replace all matches found.
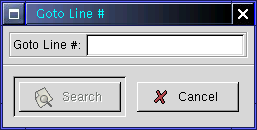
- Goto Line #: go to a specific line number in the current file.
2.2.2.3 Tags Menu
- HTML Tag Chooser: This is a separate popup window which allows you to manually pick and insert HTML tags.
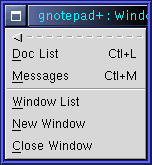
2.2.2.4 Window Menu
The Window submenu presents a number of window-related options (Window List, New Window, and Close Window) as well as two additional, but informative, windows not totally related to text editing (Document List, and Message Box).Note that <Ctrl-L> and <Ctrl-M> are keyboard shortcuts for the Document List and Message Box, respectively.
- Document List: This is a separate window which pops up, listing all the currently opened files for the current gnotepad window.
Note that there is a small toolbar at the bottom of the document list. This toolbar contains the most common used commands on a file: Save, Close, and Print. The last button is for closing the document list.
- Message Box: This is another separate which pops up, displaying any gnotepad related "system" messages. "System" messages include opening files, closing files, saving files, as well as possible error messages. This is a good tool to have so that you have a log of what has happened.
There are several Message Box settings, including disabling the message box, which can be changed in the Preferences.
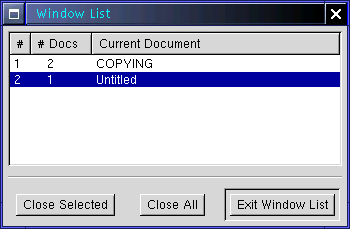
- Window List: This is a separate popup window which shows a list of the currently available gnotepad windows. Each gnotepad window is capable of having its own set of documents opened.
From the Window List window, you can elect to close a specific window, or close all windows. Closing all windows is the same as exiting gnotepad.
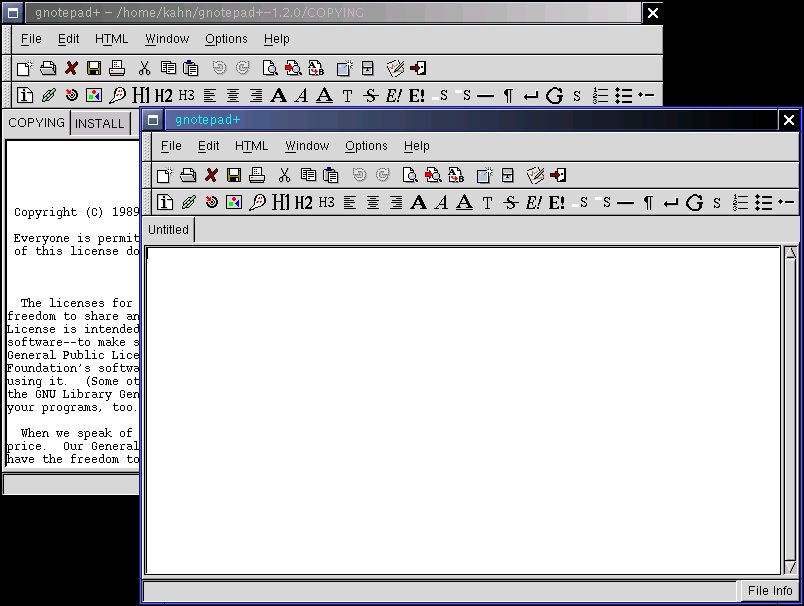
- New Window: This command creates another gnotepad window. Each gnotepad window can edit its own set of files.
The picture above shows two gnotepad windows. The first/original window is behind the second/new window.
- Close Window: This command closes a gnotepad window. Closing a gnotepad window results in first closing all open files in that window. If a file has been changed/updated, a dialog will appear and ask whether or not to save the file.
2.2.2.5 Options Menu
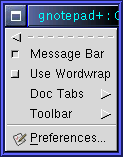
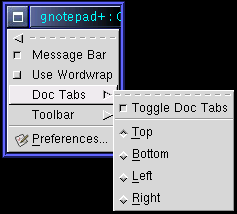
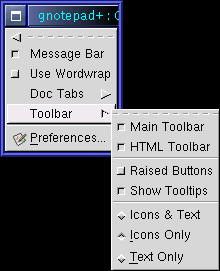
The Options Menu provides access a number of quick, and commonly accessed options. Most are self-explanatory. However, do note that the buttons to the left of the menu buttons are called "Check buttons". If the option is active, the button will look like it has been pushed down. In the image below, the "Message Bar" and "Use Wordwrap" buttons are pushed down, hence the corresponding options are active:2.2.2.6 Help Menu
The Help Menu is where you access the online help. You can also select the "About" option, which brings up a small popup window with some brief information about gnotepad.2.2.2 Toolbars
2.2.2.1 Main Toolbar
The main toolbar provides a number of buttons to common used commands/features. The toolbar can be configured in the Preferences section.2.2.2.2 HTML Toolbar
The HTML toolbar provides buttons for insertion of commonly used HTML tags.2.2.3 Text Area
The Text Area is where the editing of text takes place.
Note that the text area is composed of the document tabs, a scrollbar, and the editing area itself.
2.2.3.1 Document Tabs
When there are multiple documents opened, the document tabs can be used to select which one to edit.
The placement of the document tabs can be placed on any of the four sides of the editing area: top, bottom, left, or right. This is configurable in the Preferences Dialog as well as from the Options Menu.
2.2.4 Message Bar
The Message Bar is located just below the Text Area. It is mostly dominated by a blank area where messages are printed, and a small "File Info" button on the far right.
In the image above, the current message is "Welcome to gnotepad+ 1.1.5".
2.2.4.1 File Info
By clicking on the button labeled "File Info", a small popup window appears, displaying some basic information about the current file:2.2.4.2 Drag and Drop
Drag-and-drop is supported in gnotepad. That is, icons representing files (e.g., from a file manager) can be dragged over and dropped onto a gnotepad window. This in turn causes gnotepad to open that file. To do this in the other direction (e.g., drag a file currently opened in gnotepad and drop it into another application), click and hold down on the "File Info" button in the lower right corner of the gnotepad widnow, and then drag to your destination.2.3 Keyboard Shortcuts
There are a number of keyboard shortcuts which quickly execute commands/functions within gnotepad. Using a keyboard shortcut is a little faster than finding the command in the menu.<F3> Open file
<F6> Find
<F7> Find and Replace
<Shft-F6> Find Again
<Ctrl-C> Copy
<Ctrl-I> File info
<Ctrl-L> Document List
<Ctrl-M> Message Box
<Ctrl-Q> Quit gnotepad
<Ctrl-R> Redo
<Ctrl-S> Save file
<Ctrl-V> Paste
<Ctrl-W> Close file
<Ctrl-X> Cut
<Ctrl-Z> Undo